My family loves yogurt, I mean we are French, and in France we have aisles dedicated to yogurt. So yes we do know our yogurts, like our cheeses! However, between the cost of a yogurt and the fact that yogurt is almost all the time packaged in plastic, I decided a while ago to give it a try and switch to making them at home. It is so so easy, you won’t believe it, and here is the recipe!
You will need:
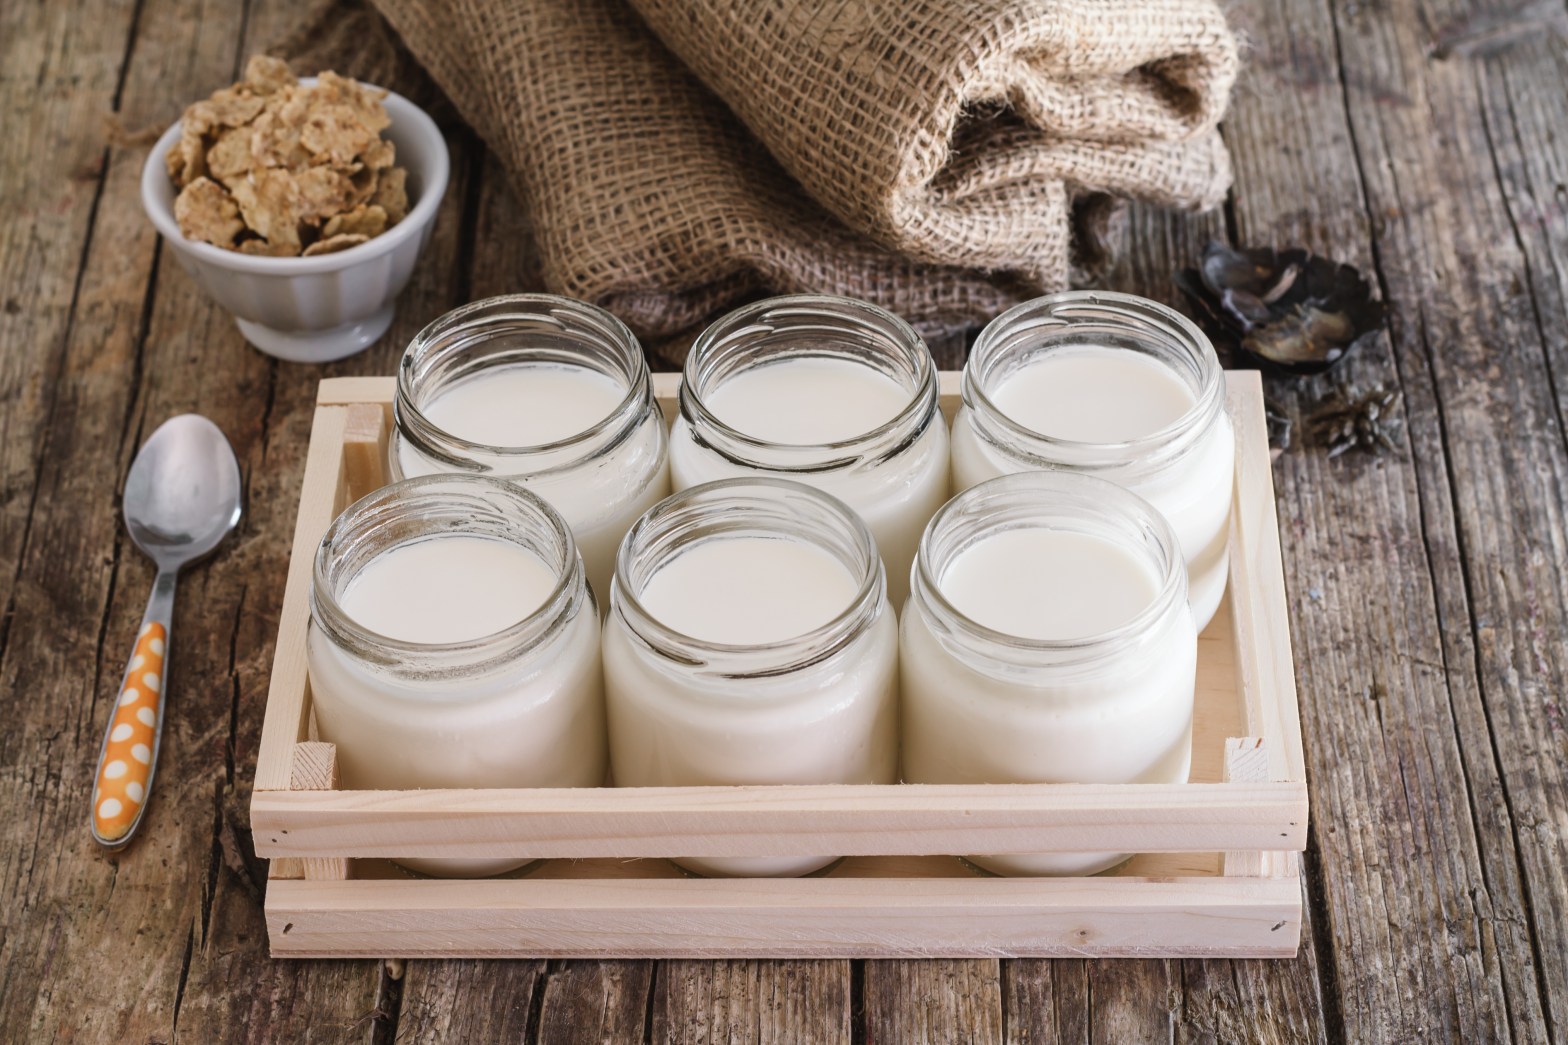
- Yogurt maker. I have the Euro Cuisine Yogurt Maker, and I also bought extra jars considering how fast we go through yogurts. So that’s a total of 14 yogurts.
- 4 1/2 cups Milk: It is up to you how fat you want the milk to be. I use 2%. I have never tried nonfat milk or other types of milk, such as goat milk and plant-based milk.
- 1 Yogurt: All you need is one yogurt for the cultures. You could use a starter kit, which I tried but didn’t like. My favorite is OUI by Yoplait (Vanilla flavor) for my starter yogurt, which is packaged in glass and has an aluminum covering.
- Optional: Cane sugar, Vanilla extract, etc.
- 1 Bowl, 1 Whisk, 1 Small Strainer (a good one, I have these)
Instructions:
- Boil the milk. When it starts foaming, turn off the heat.
- Let the milk cool down until slightly warm (a little bit warmer than room temperature). The yogurt maker booklet indicates a temperature, but don’t worry about getting a thermometer, just wait until it is slightly warm.
- Remove that milky skin that is on top and discard.
- Take your OUI yogurt (or whatever you chose) and pour it into the bowl. Slightly whisk until creamy.
- Strain about 1 cup of the milk into the yogurt and gently whisk. You want to try to avoid creating foam. The objective of whisking after pouring about 1 cup of warm milk is to avoid clumps, which would happen if you pour all the milk at once.
- Pour the rest of the milk and gently whisk.
- NOW, OPTIONAL, you can add sugar, vanilla extract or other flavor. I found that the issue with sugar is that it doesn’t dissolve well enough and at the end it adds extra time, so I’d rather use a sweetener (maple syrup, jam, cane sugar, etc.) when the yogurt is ready to be enjoyed.
- The mixture is now ready to be poured into the jars. VERY IMPORTANT, use your strainer again when pouring into the jars, otherwise it is likely that you will have some clumps. Or at least that is what happens to me.
- Put the jars without their lid on in the yogurt maker and cover with the plastic top.
- Set the timer for 8 hours. I usually set it at night and even if the timer stops at 4am, I will take care of the yogurts when I wake up at 6-7am. It is ok, because it is better to let the yogurt cool down before putting them in the fridge anyway.
- Enjoy with your favorite sweetener!
Always keep one yogurt for your next batch! I also feel like after 5 or 6 batches, I need a new yogurt from the store, so I use a new OUI whenever I find the consistency to be changing.
